
-
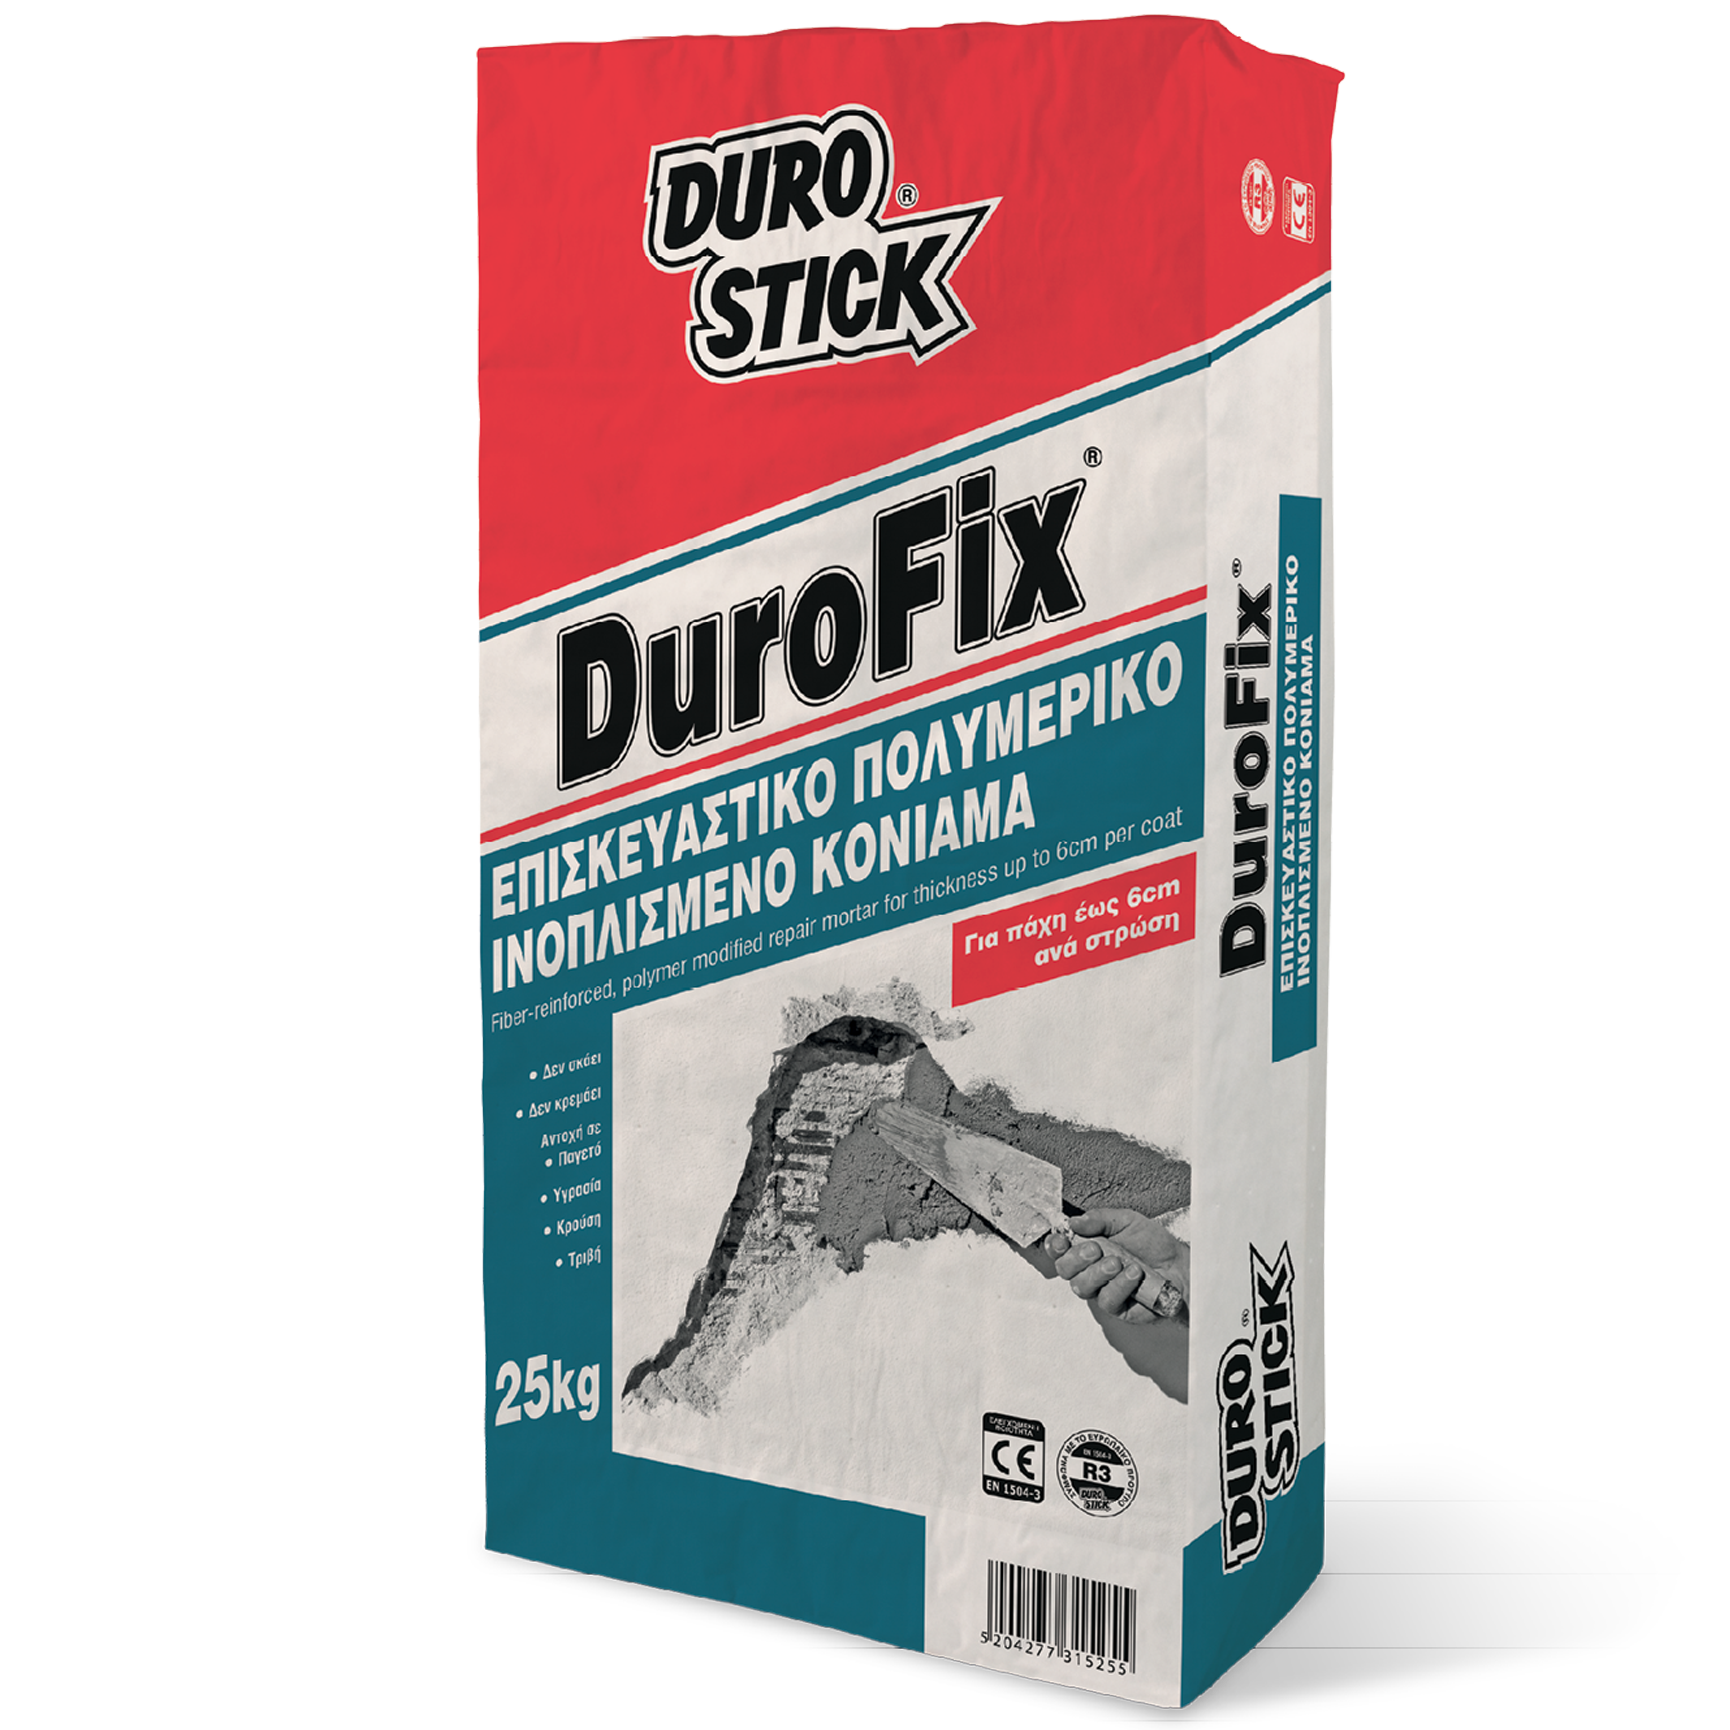
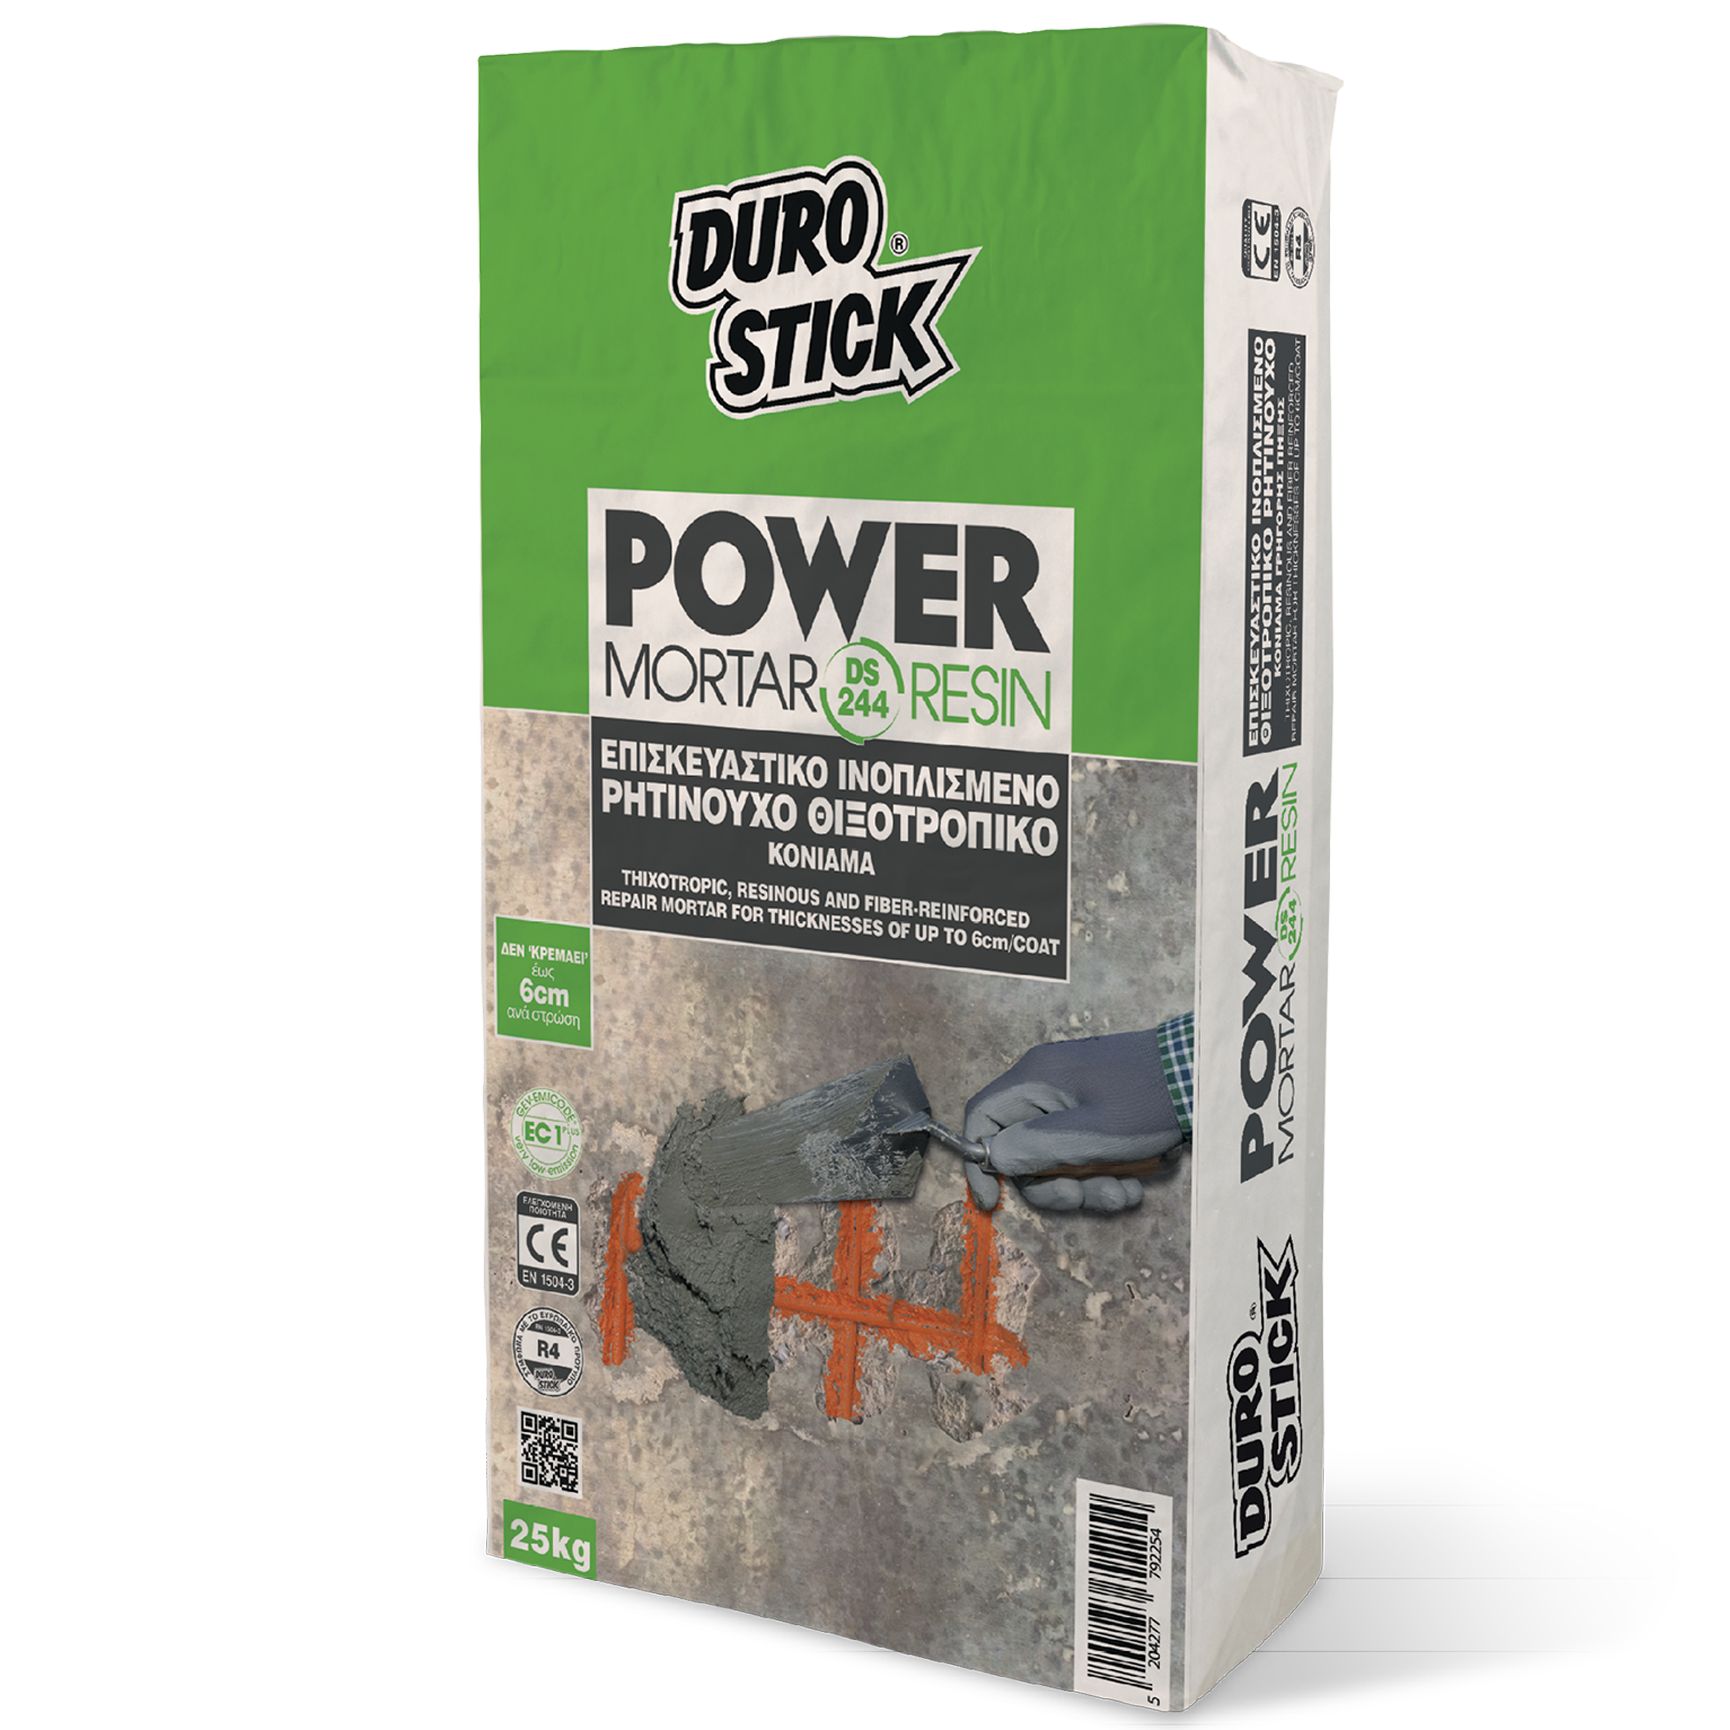
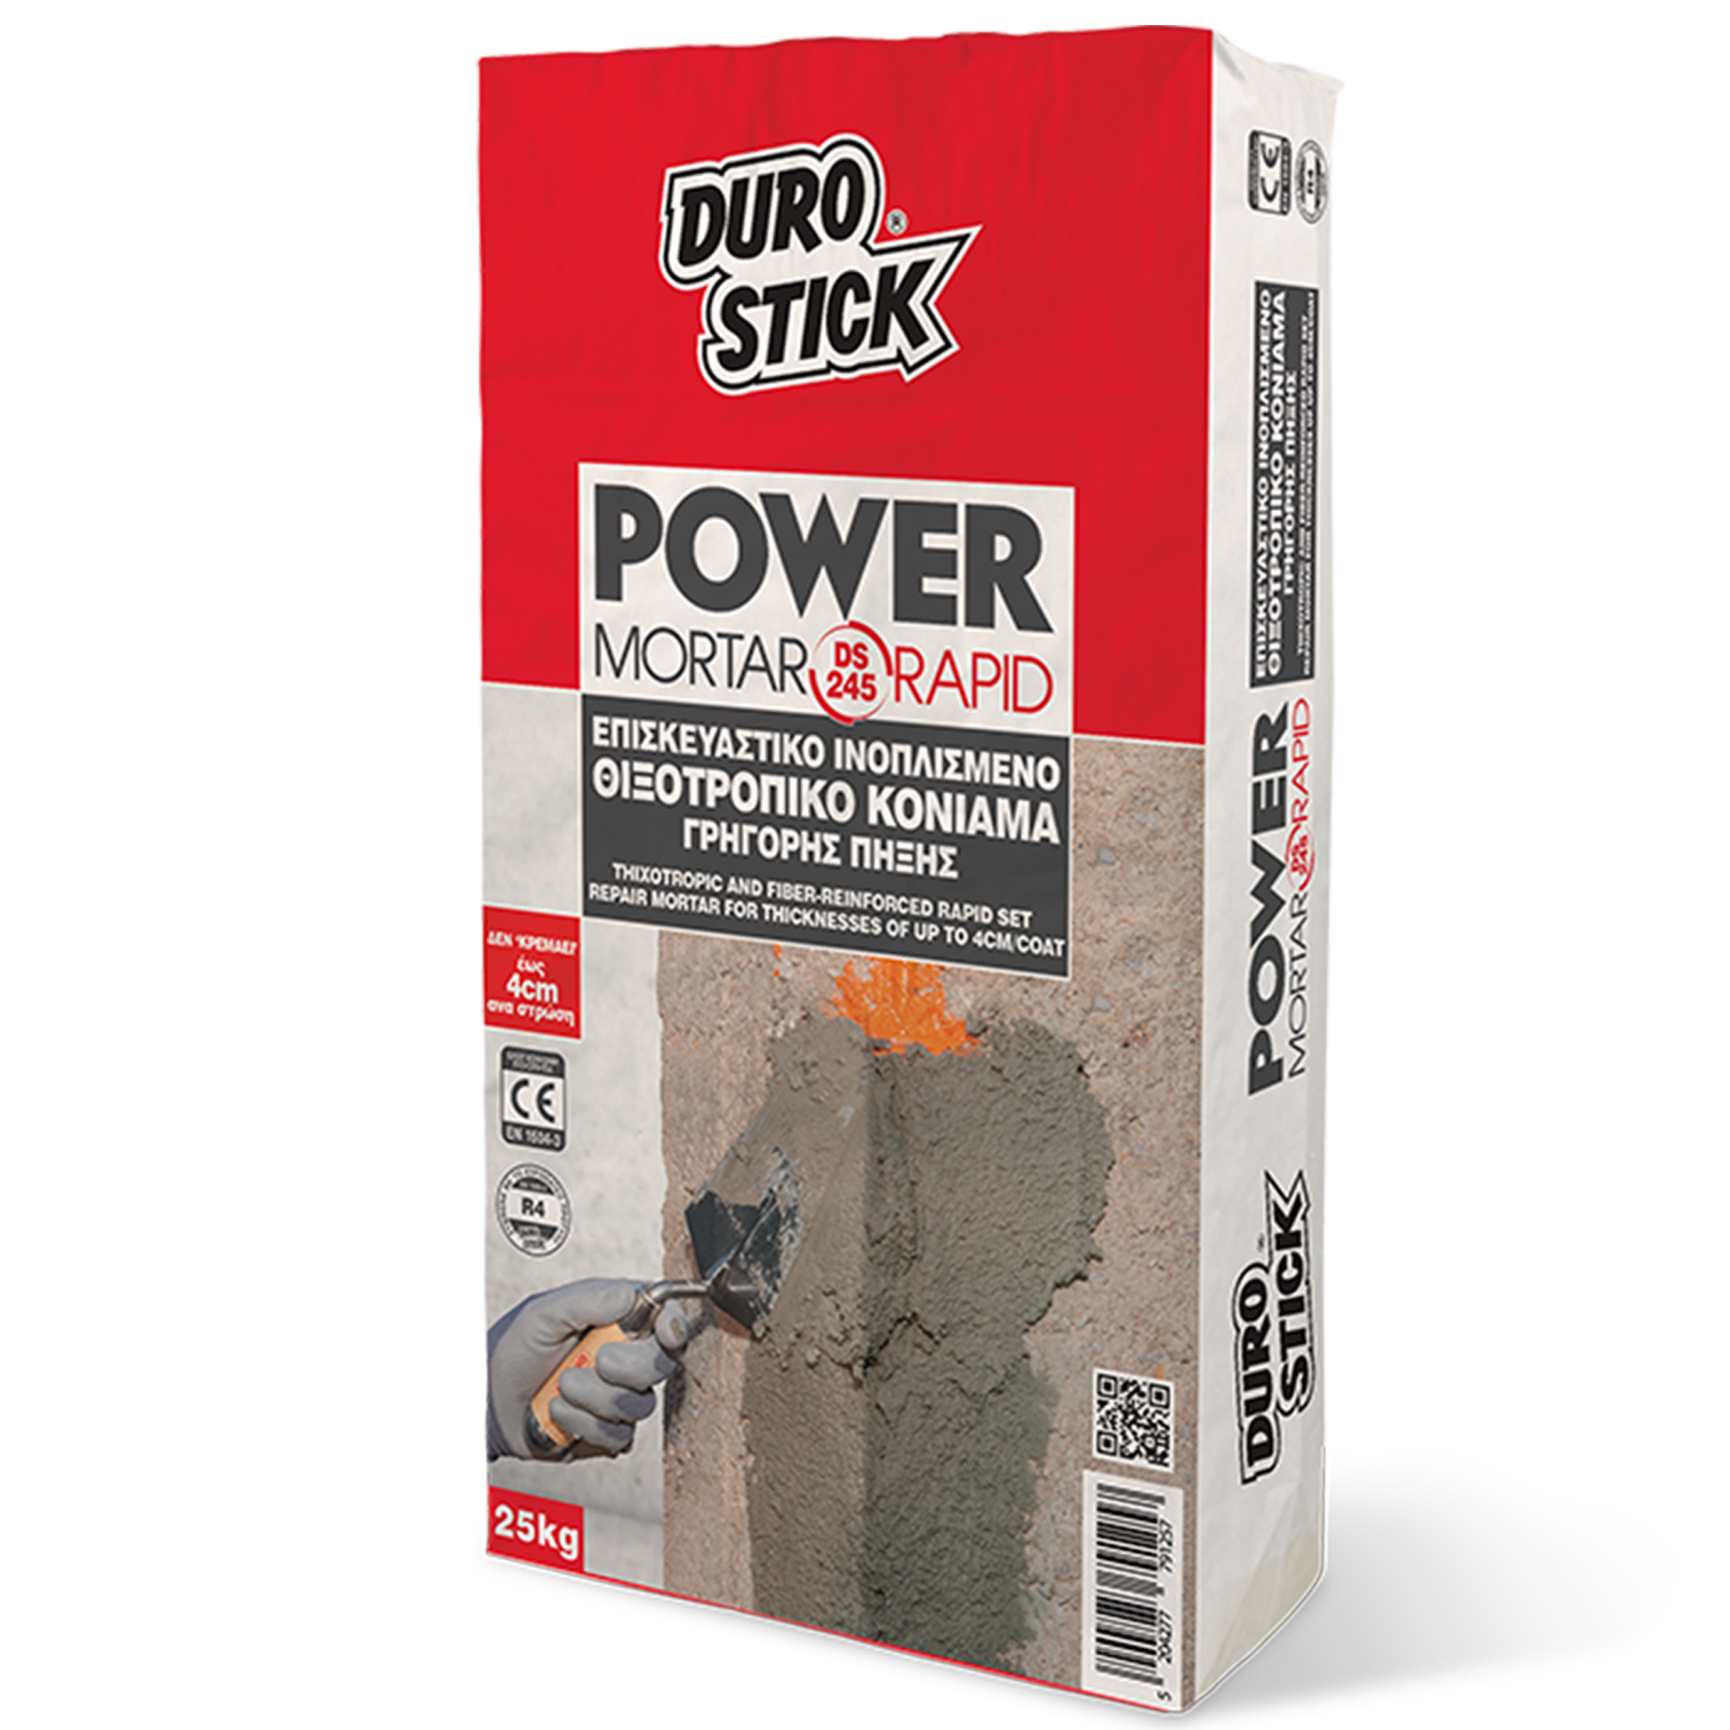
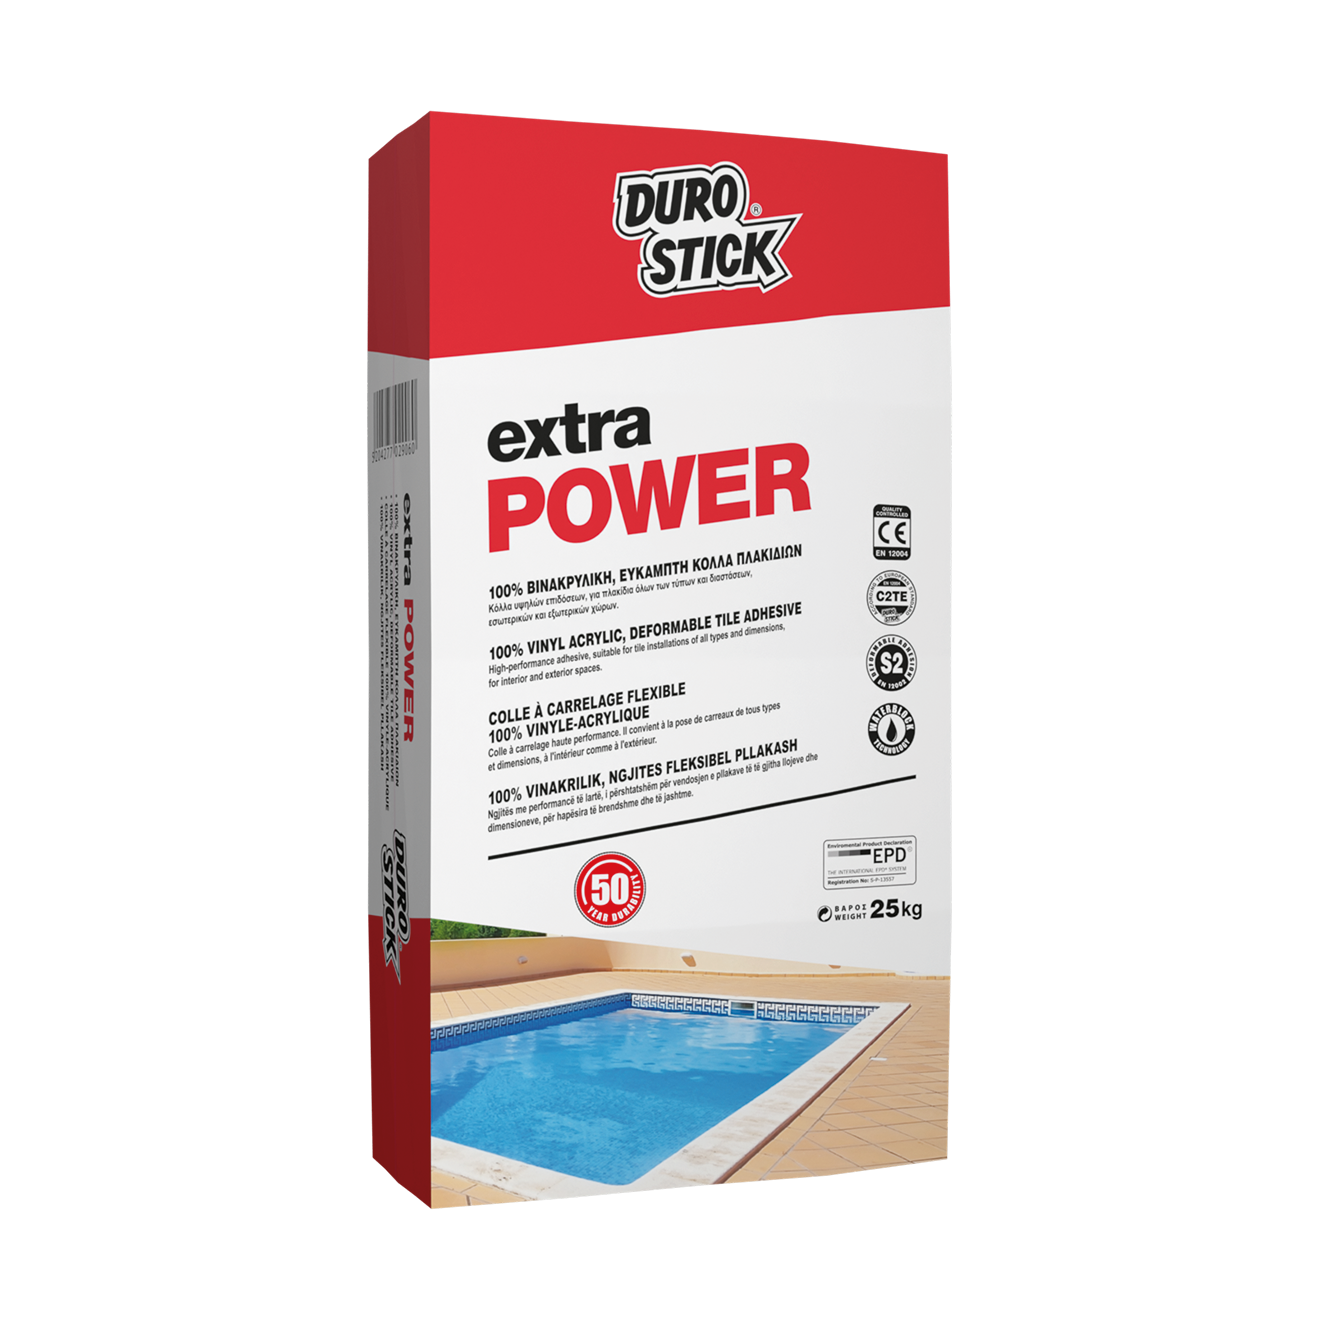
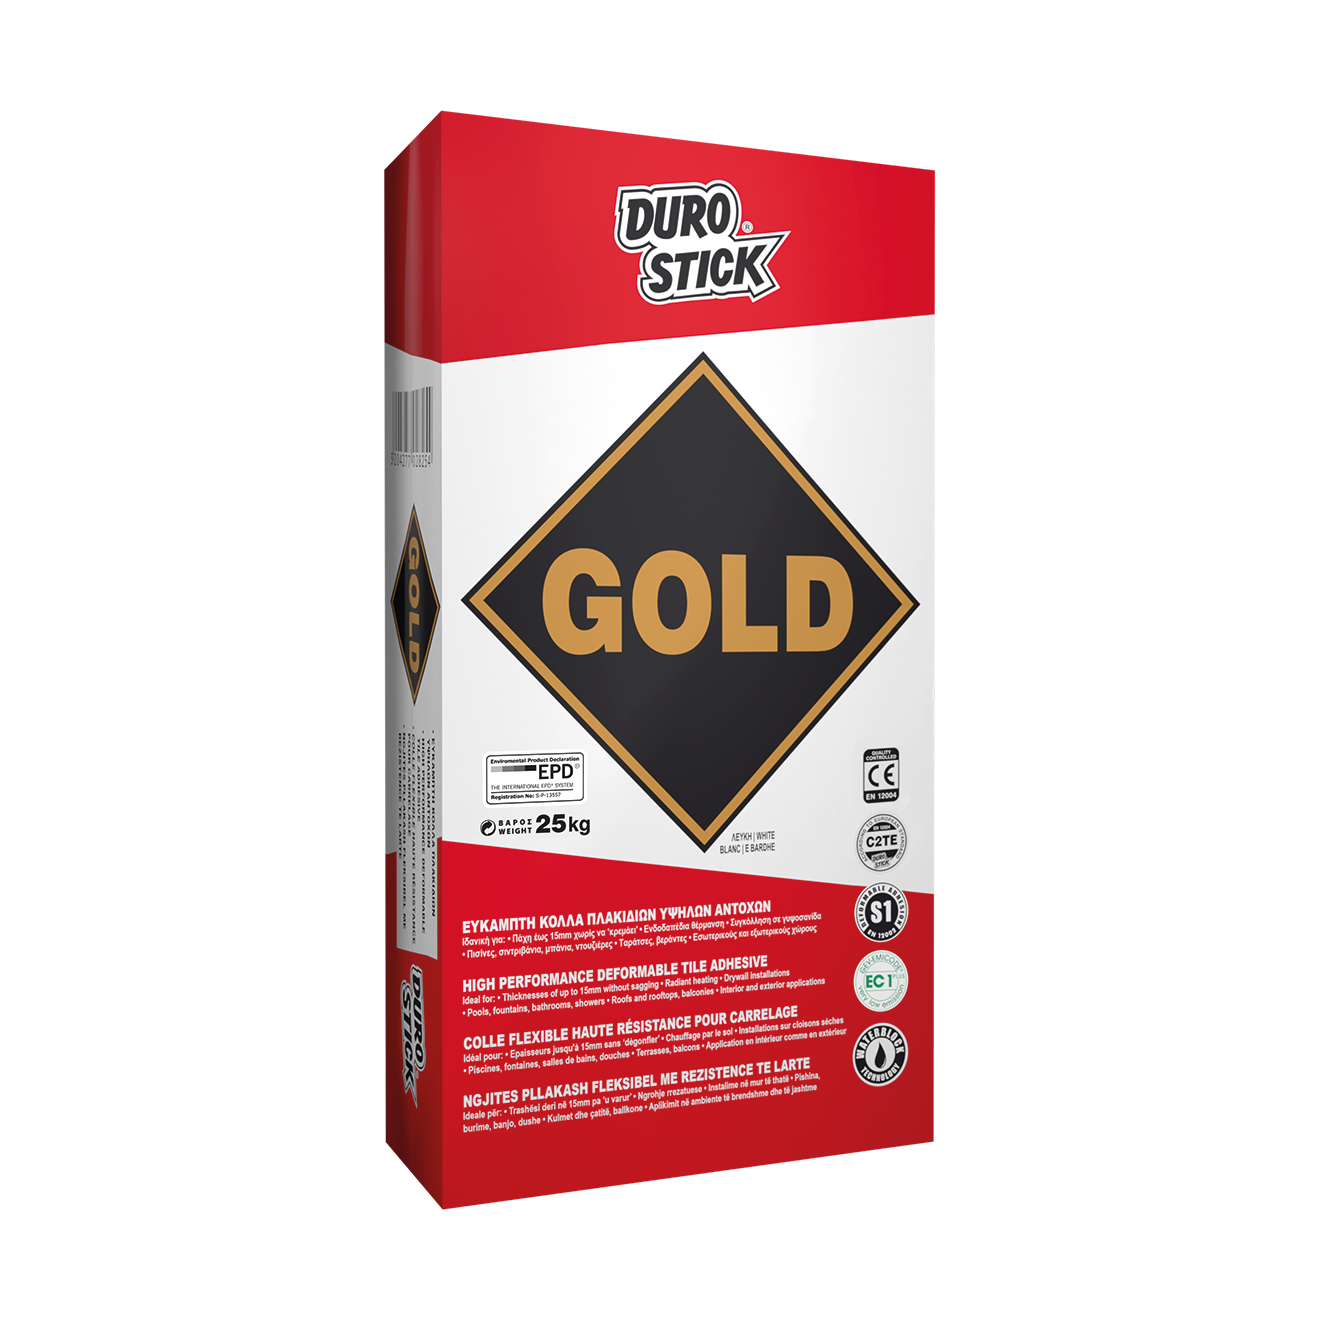
a) Friable plaster: Remove the detached tiles. In case the plaster is friable, remove it until a stable substrate is reached. Repair locally with the polymeric repair cementitious mortar DUROFIX, with the repair, fiber-reinforced, resin-modified, thixotropic mortar DS-244 POWER MORTAR RESIN, or with the fast-setting repair, fiber-reinforced, thixotropic mortar DS-245 POWER MORTAR RAPID. Finally, position the new tiles, bonding them with the flexible, high-strength tile adhesive EXTRA POWER or GOLD.
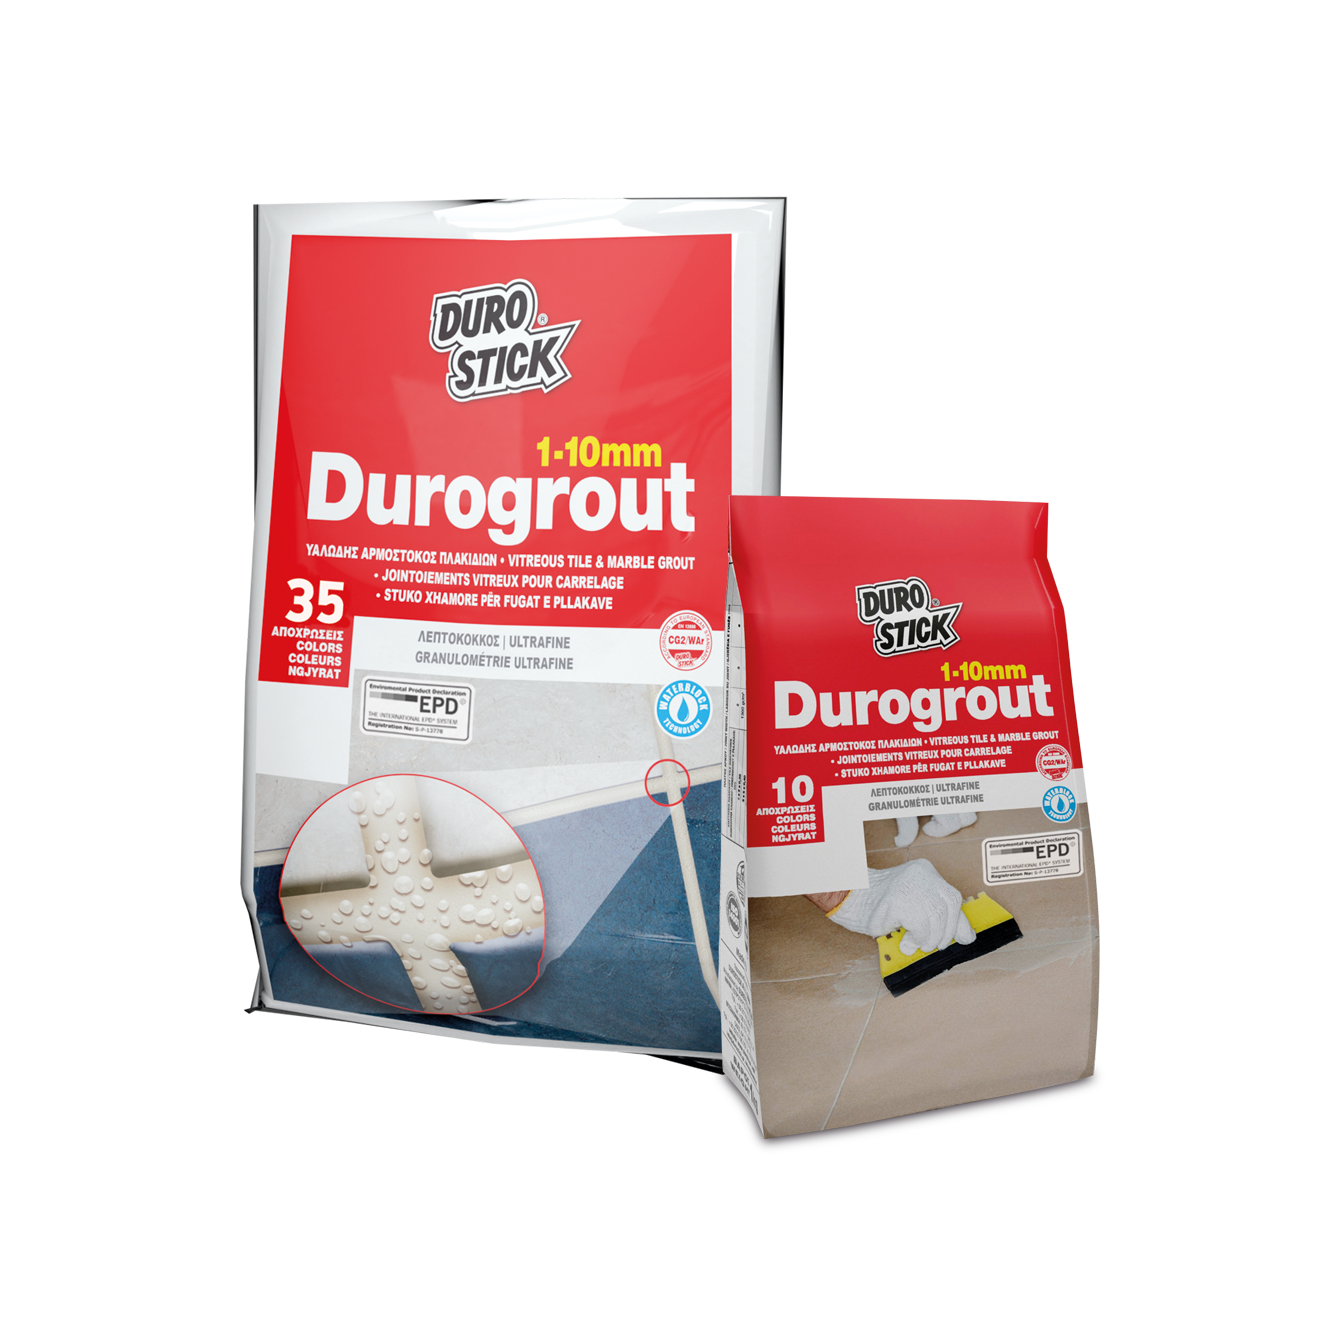
Complete the application by grouting with the appropriate type of cementitious grout, depending on the joint width, or with the VITREOUS TILE GROUT DUROGROUT.
-
b) Painted plaster: Remove the detached tiles. Sand the paint with No60 sandpaper. Thoroughly remove the dust and position the new tiles, bonding them with the flexible tile adhesive GOLD. Grout the lining as previously described.
Detachment of tiles
a) friable plaster, b) painted surface
•Lightweight insulation that has not been coated with a cement screed and waterproofing material
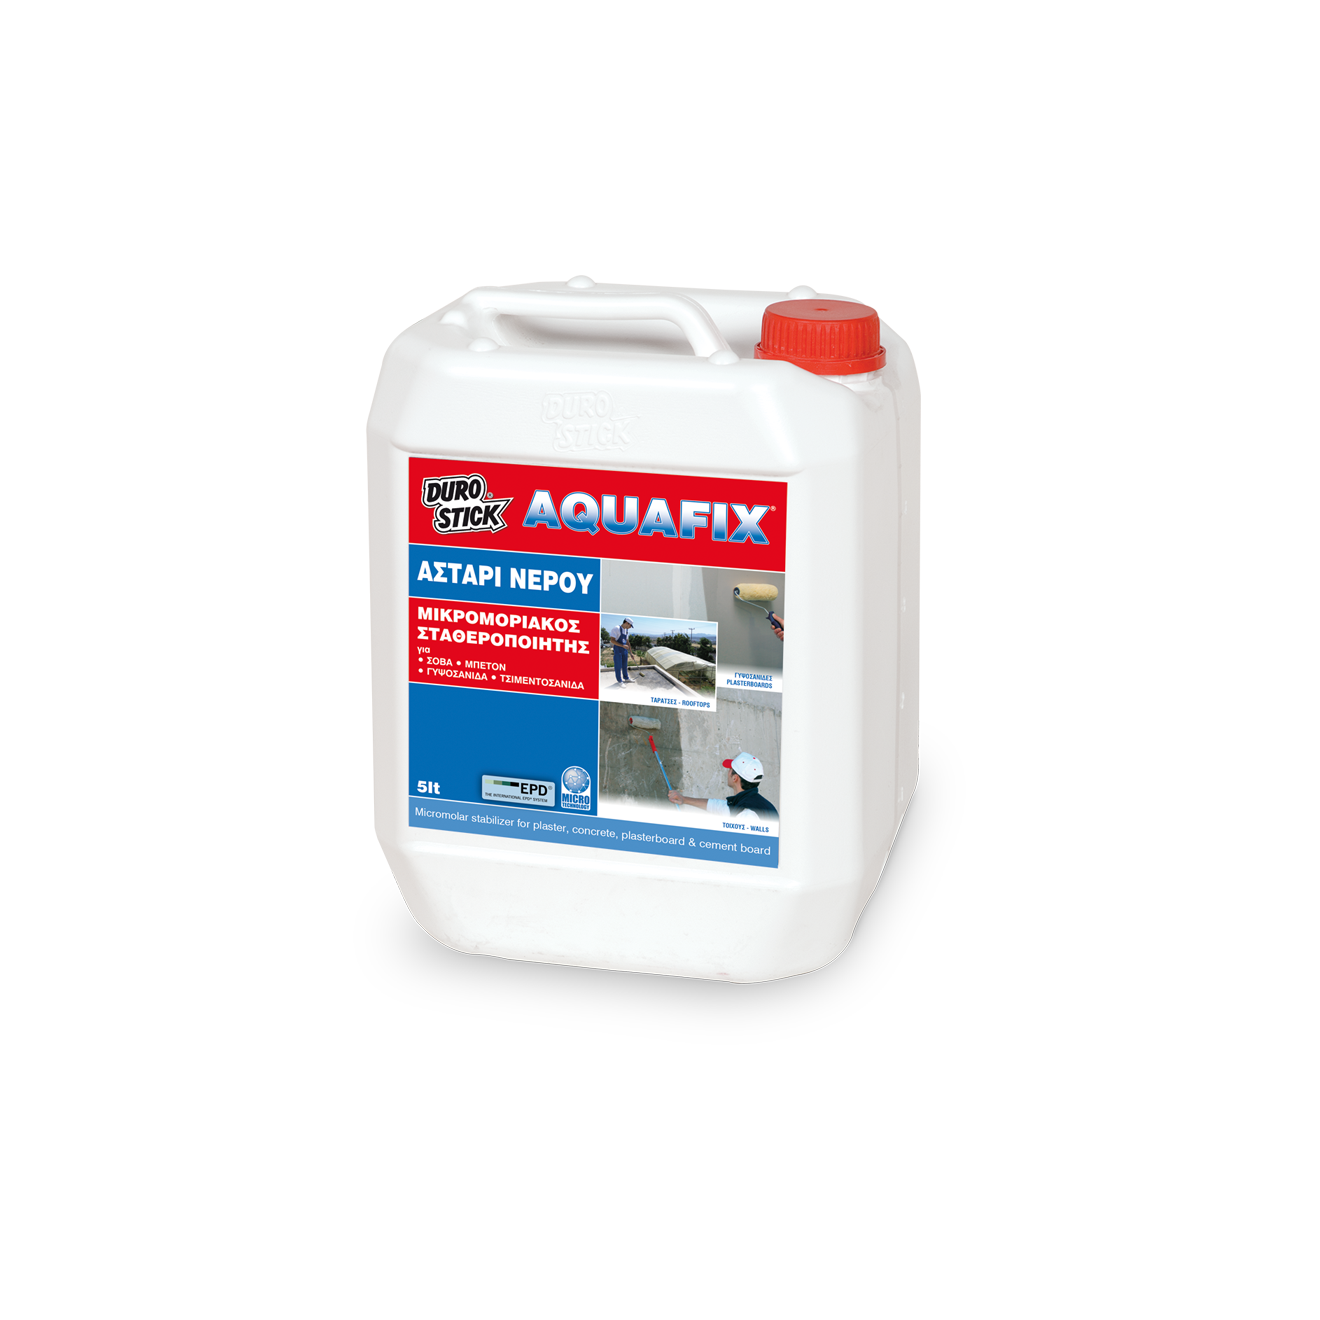
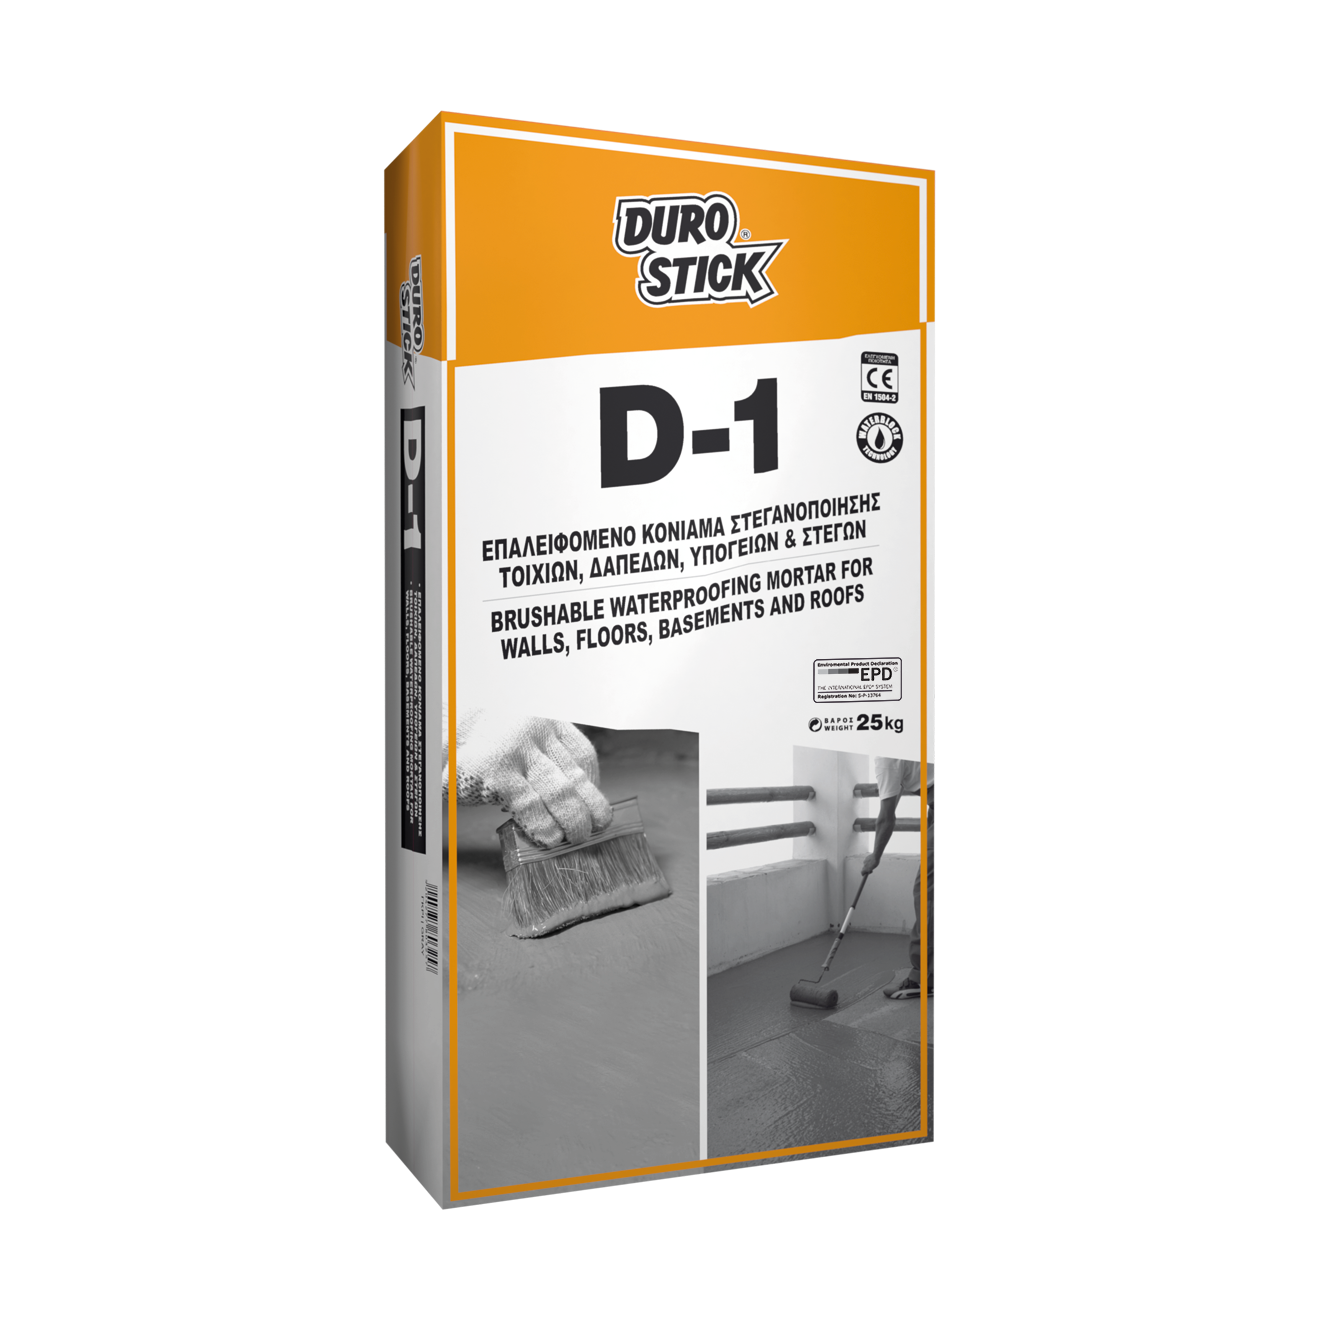
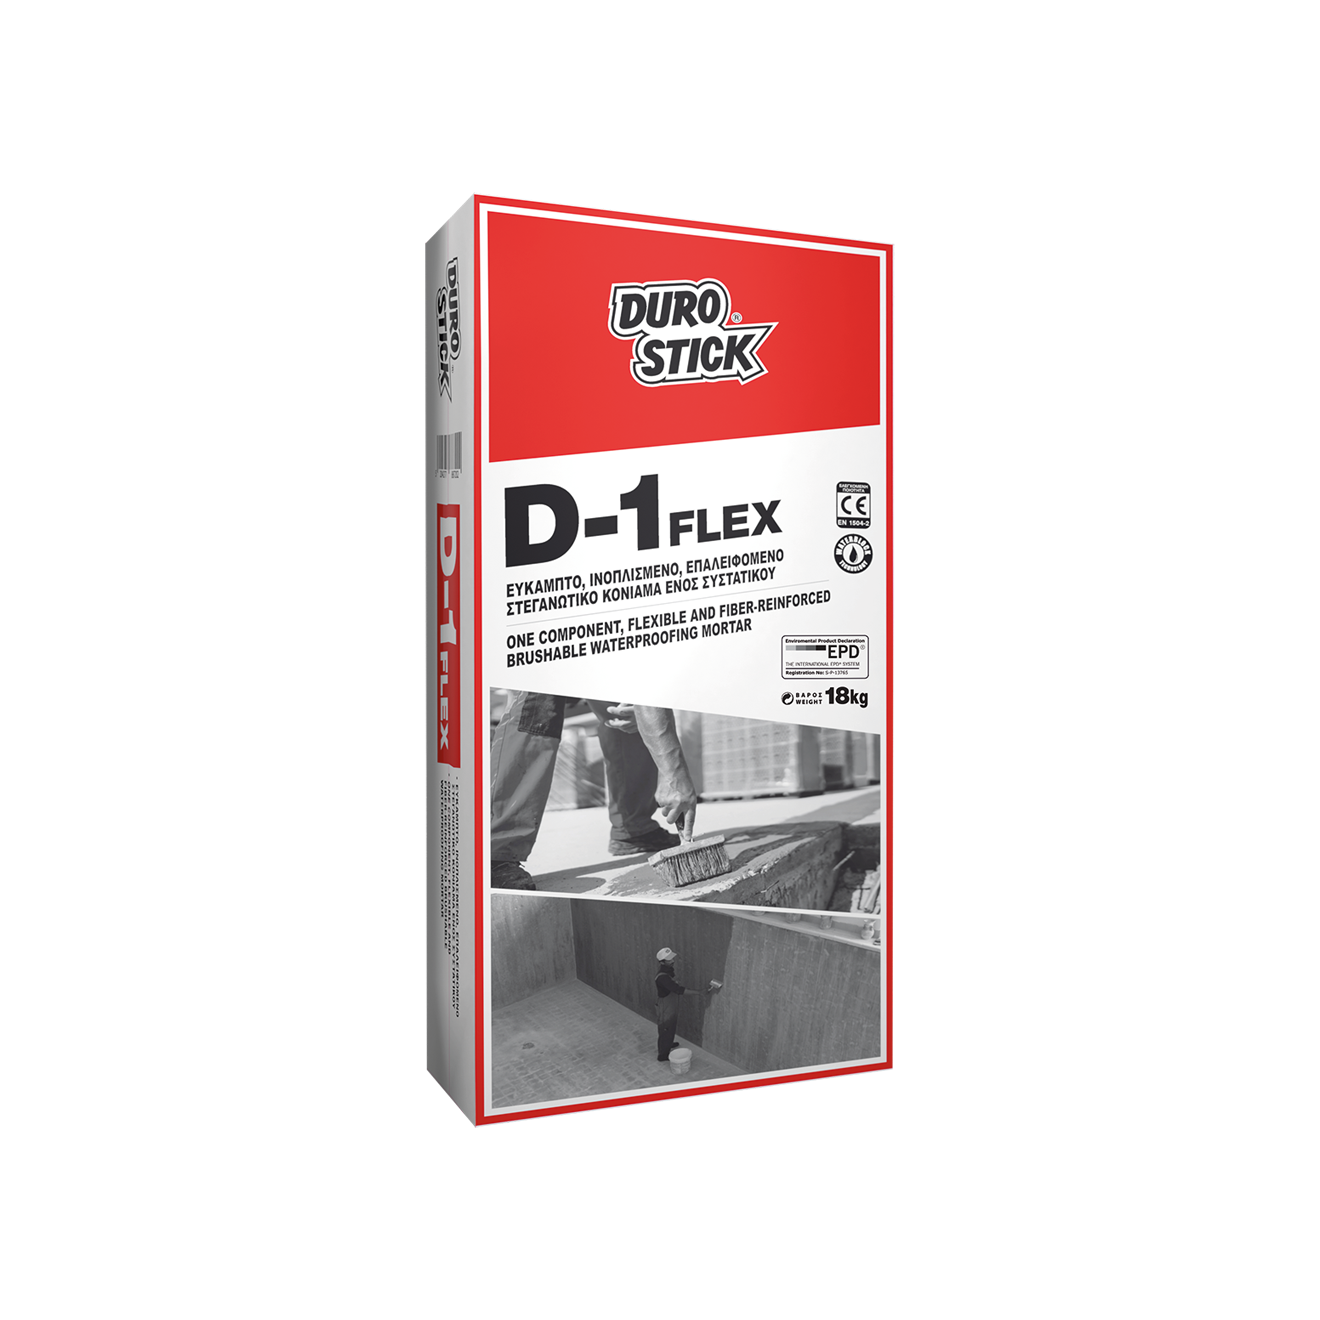
Prime with the micromolecular stabilizer AQUAFIX to create a stable surface. Next, coat with the fiber-reinforced waterproofing mortar HYDROSTOP FLOOR, D-1, or D-1 FLEX. Finally, position the new tiles, bonding them with the flexible, high-strength tile adhesive GOLD.
Complete the application by grouting with the appropriate type of cementitious grout, depending on the joint width.
Note: In case the existing cement screed has not stabilized, complete removal may be necessary. For more information, contact Technical Support.
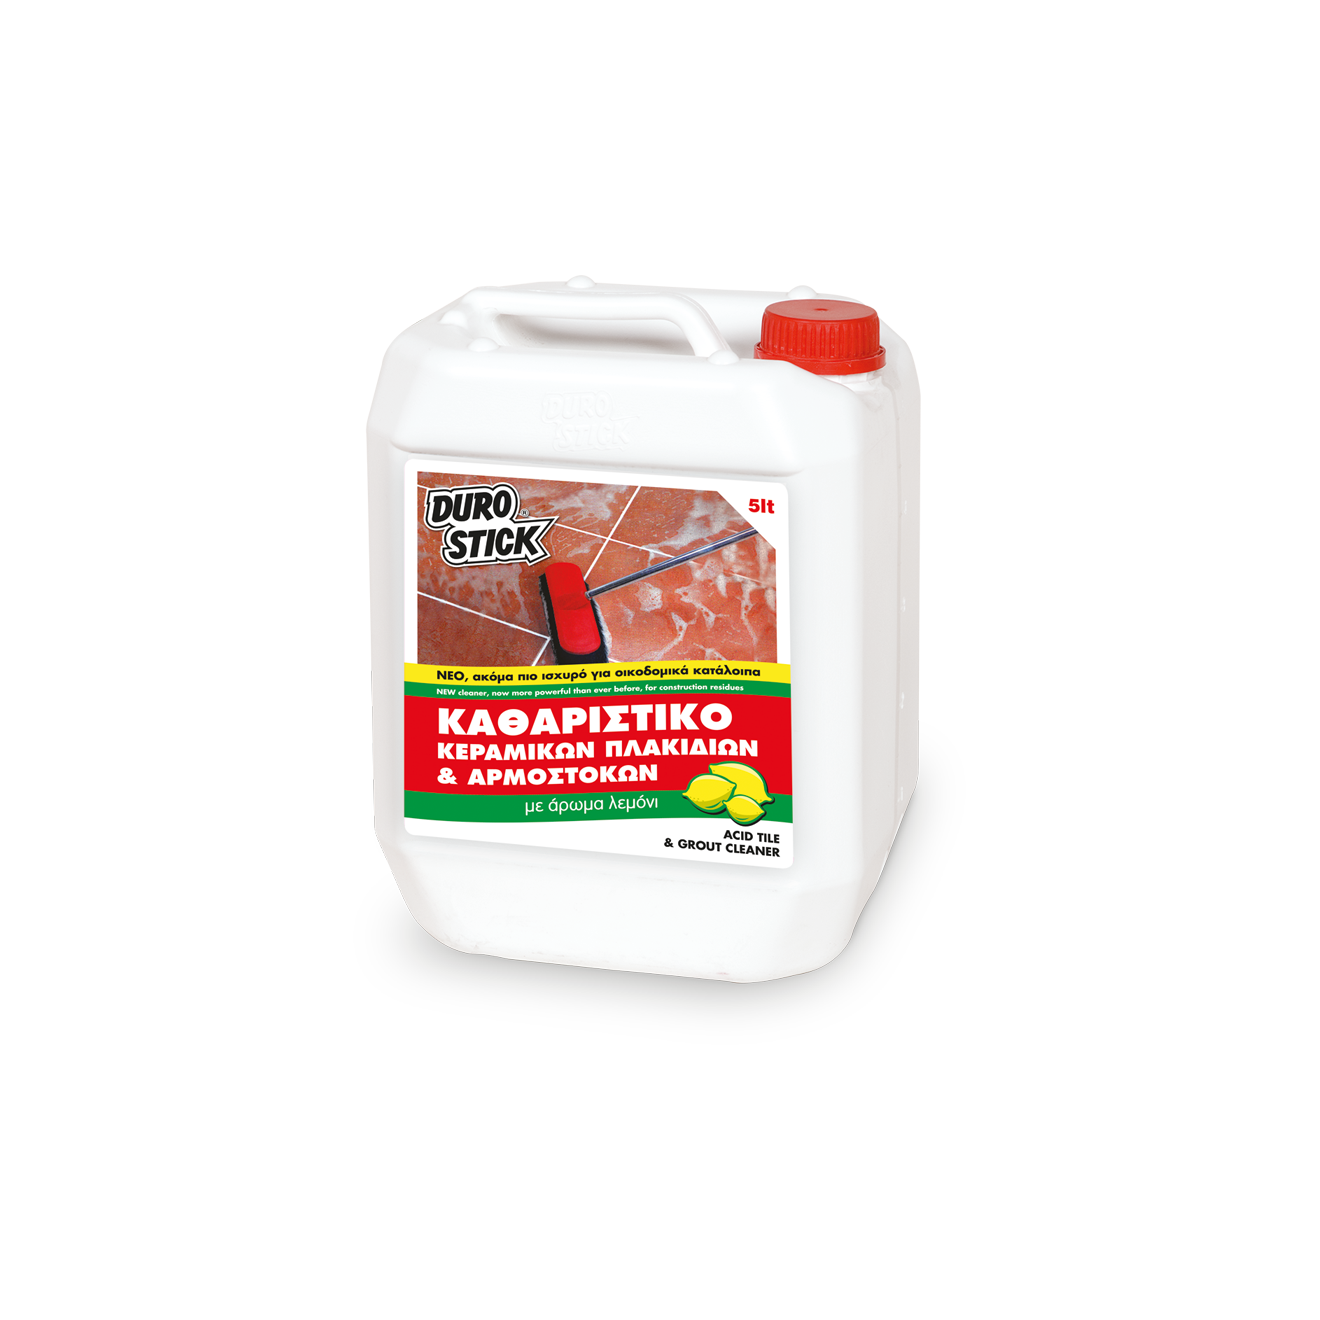
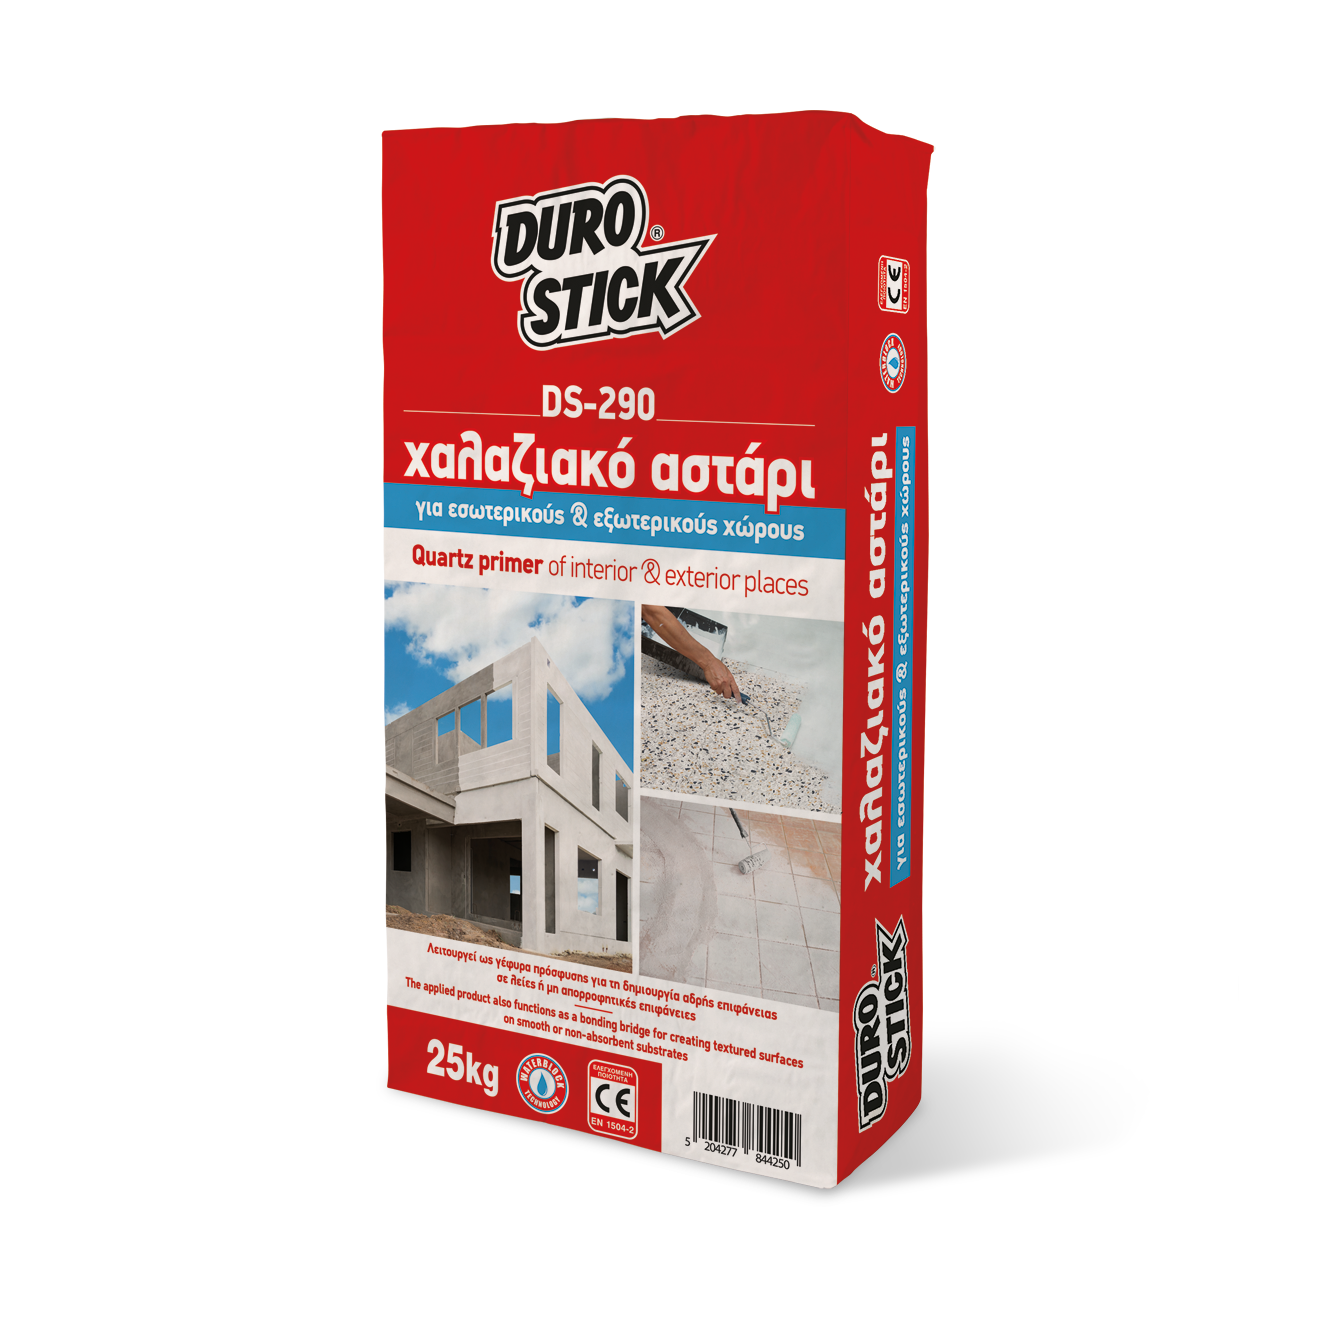
Thoroughly clean the surfaces before bonding using the ACID TILE CLEANER. Next, rinse with plenty of water. Alternatively, on clean and dry surfaces, create an adhesion bridge and a rough surface by applying the quartz primer DS-290.
Once the surface has dried, position the new tiles, bonding them with the flexible, high-strength tile adhesive EXTRA POWER or ELASTIC. Complete the application by grouting with the appropriate type of cementitious grout, reinforced with acrylic emulsion or D-20 at a 1:2 ratio with water, or with the VITREOUS TILE GROUT DUROGROUT, without using improving additives.
If the cracks are hairline, use the silicone-based tile joint water repellent D-16 HYDROSTOP.
In the case of more severe cracking, remove the grout with the TILE GROUT SCRAPER and regrout using the appropriate type of cementitious grout (depending on the joint width), reinforced with ACRYLIC EMULSION. Alternatively, grout with the VITREOUS TILE GROUT DUROGROUT, without using improving additives, or with the epoxy grout DUROPOXY, which is easily and quickly cleaned using only water.
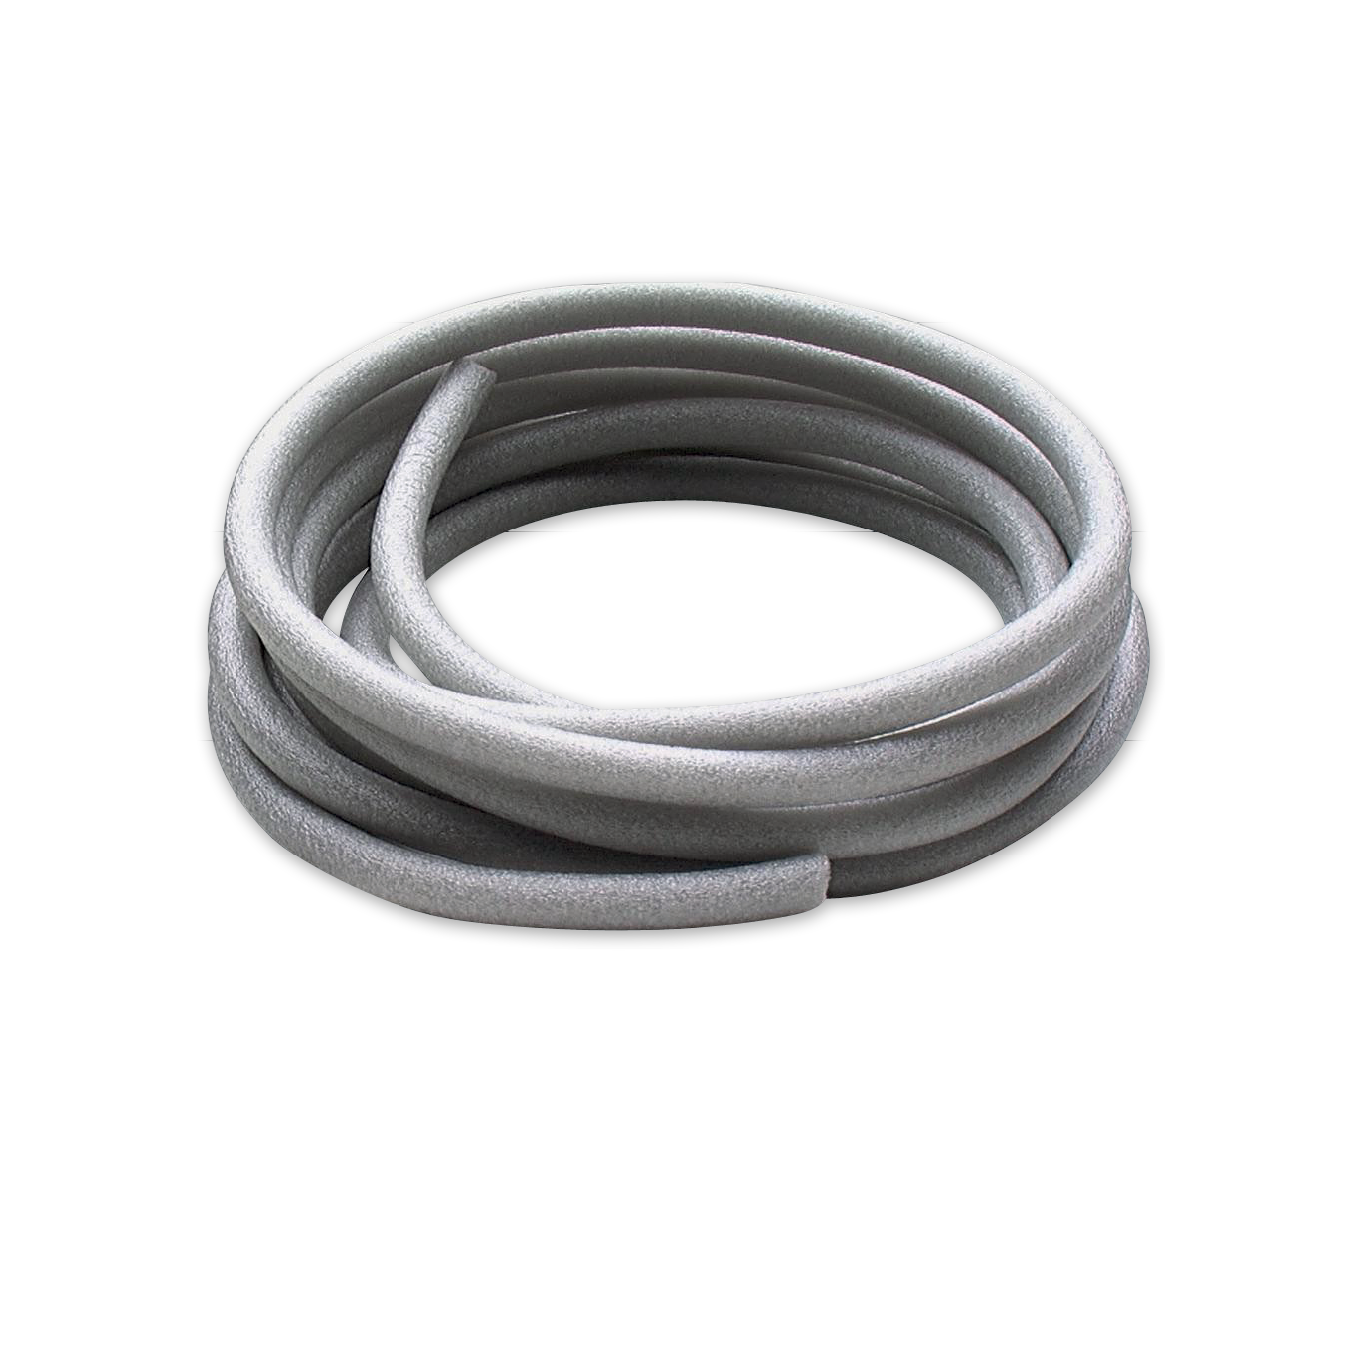
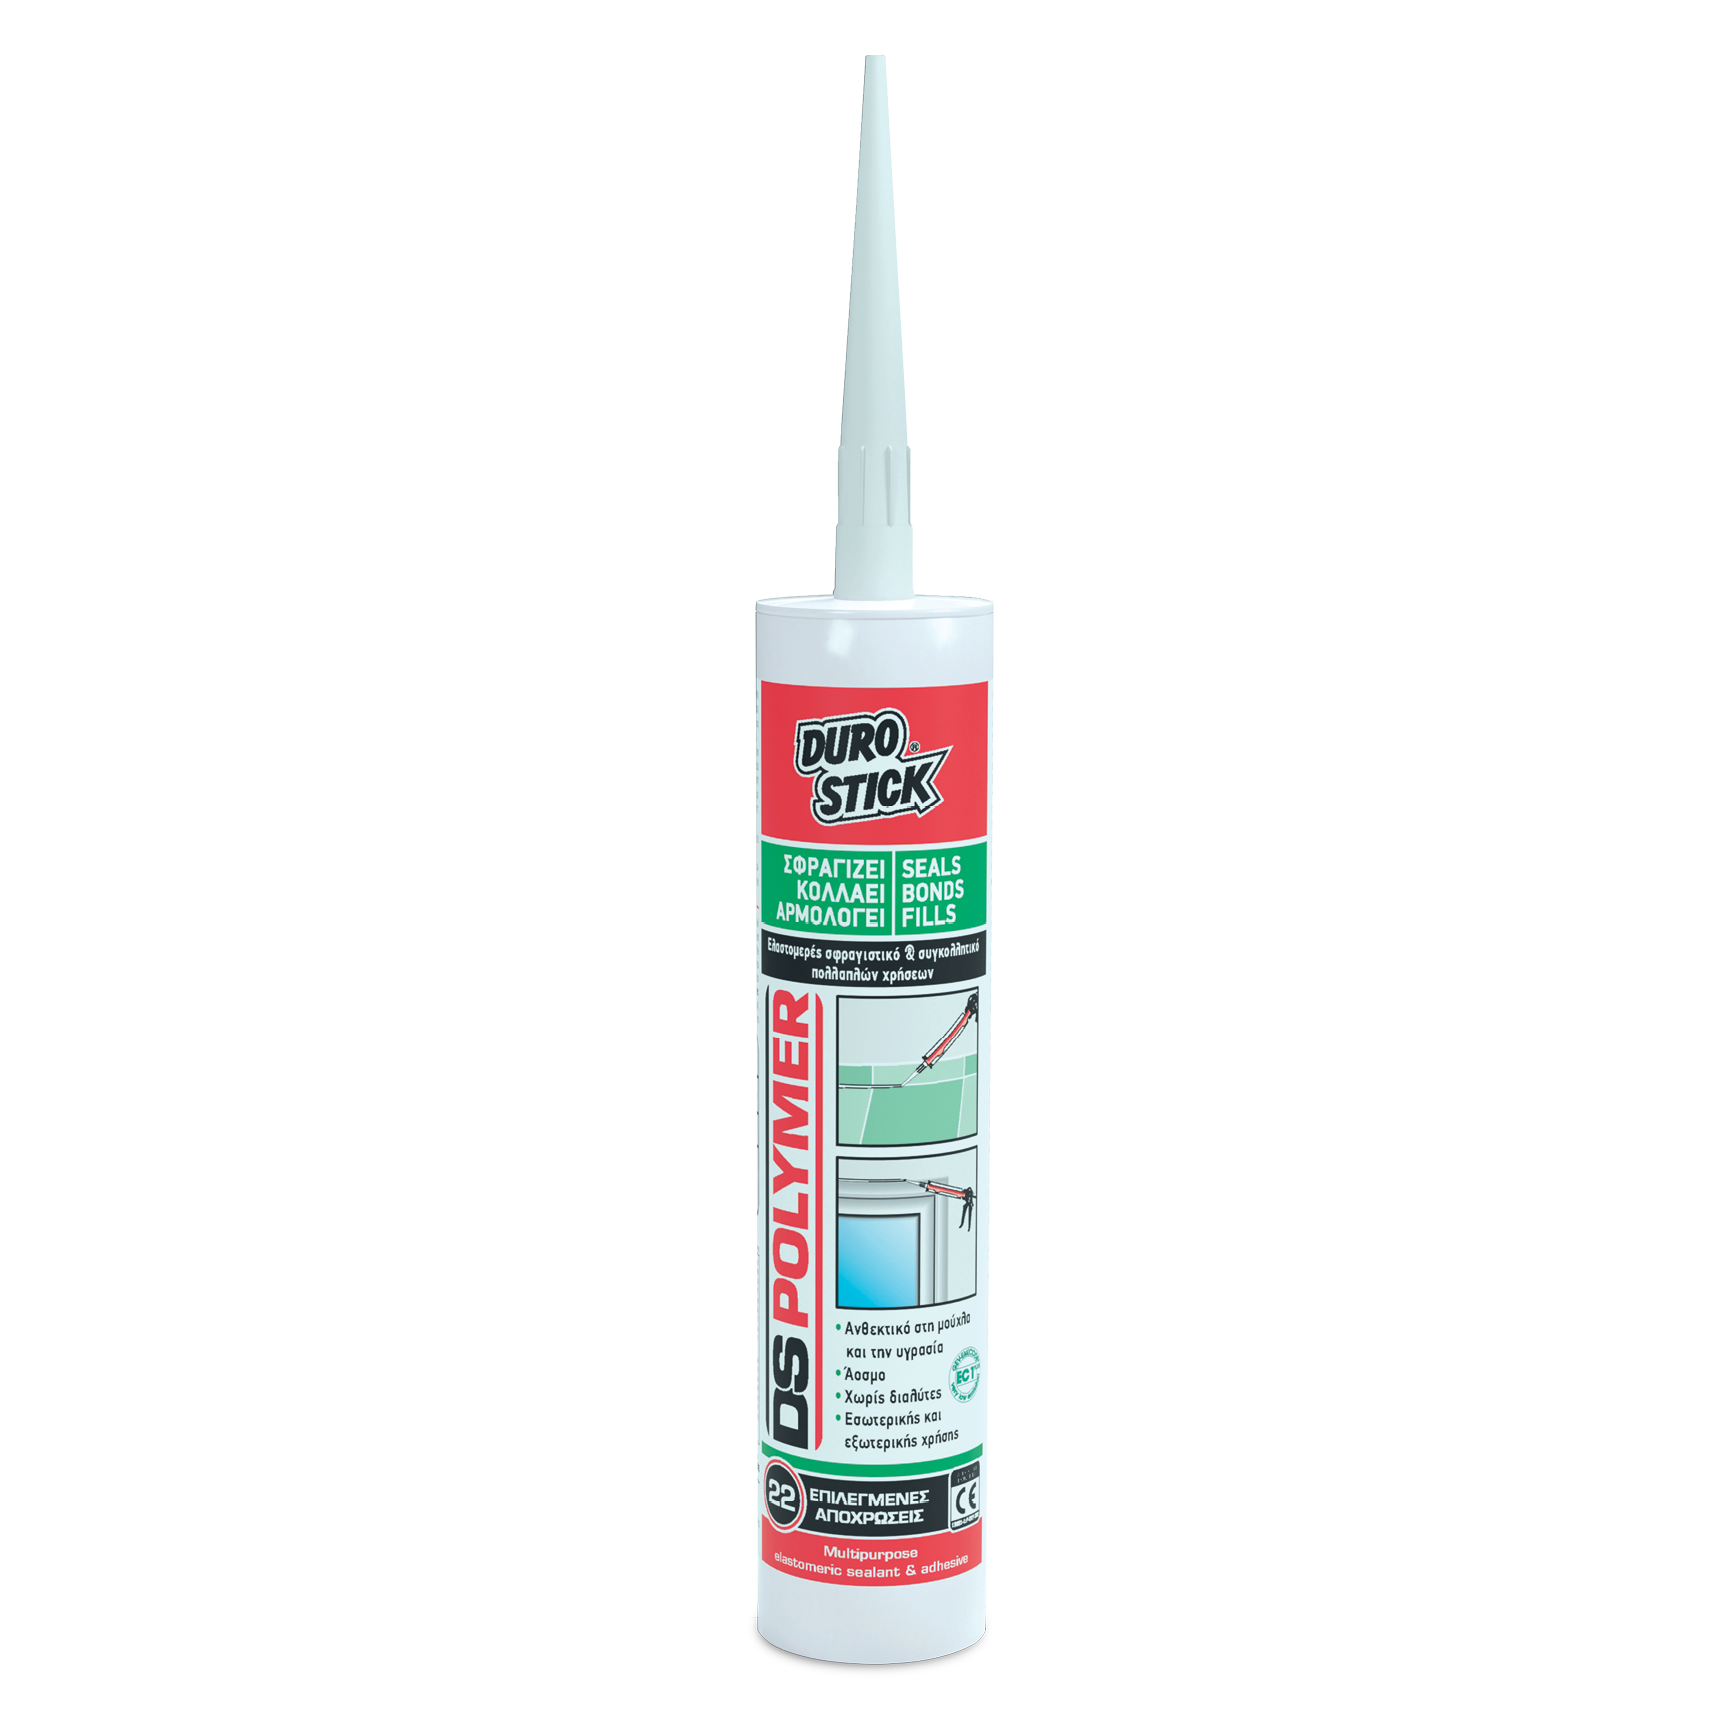
To ensure that cracking does not reappear, create an expansion joint every 16-20m², as well as perimetrically at the junction of the tiles and vertical surface, and seal it with the polyurethane sealant DUROFLEX-PU, after priming with PRIMER-PU and placing the backing rod DS-265 (if deemed “technically” necessary). Alternatively, for indoor applications, the elastomeric sealant and adhesive DS POLYMER is recommended.
• Seismic vibrations
• Incorrect choice of adhesive type
• Application at temperatures exceeding 35°C with concurrent exposure to the sun
• Leaving the spread adhesive on the surface for a long time before positioning the tiles (skin formation)
• Absence of an expansion joint
In each of the mentioned cases, the repair procedure is the same.
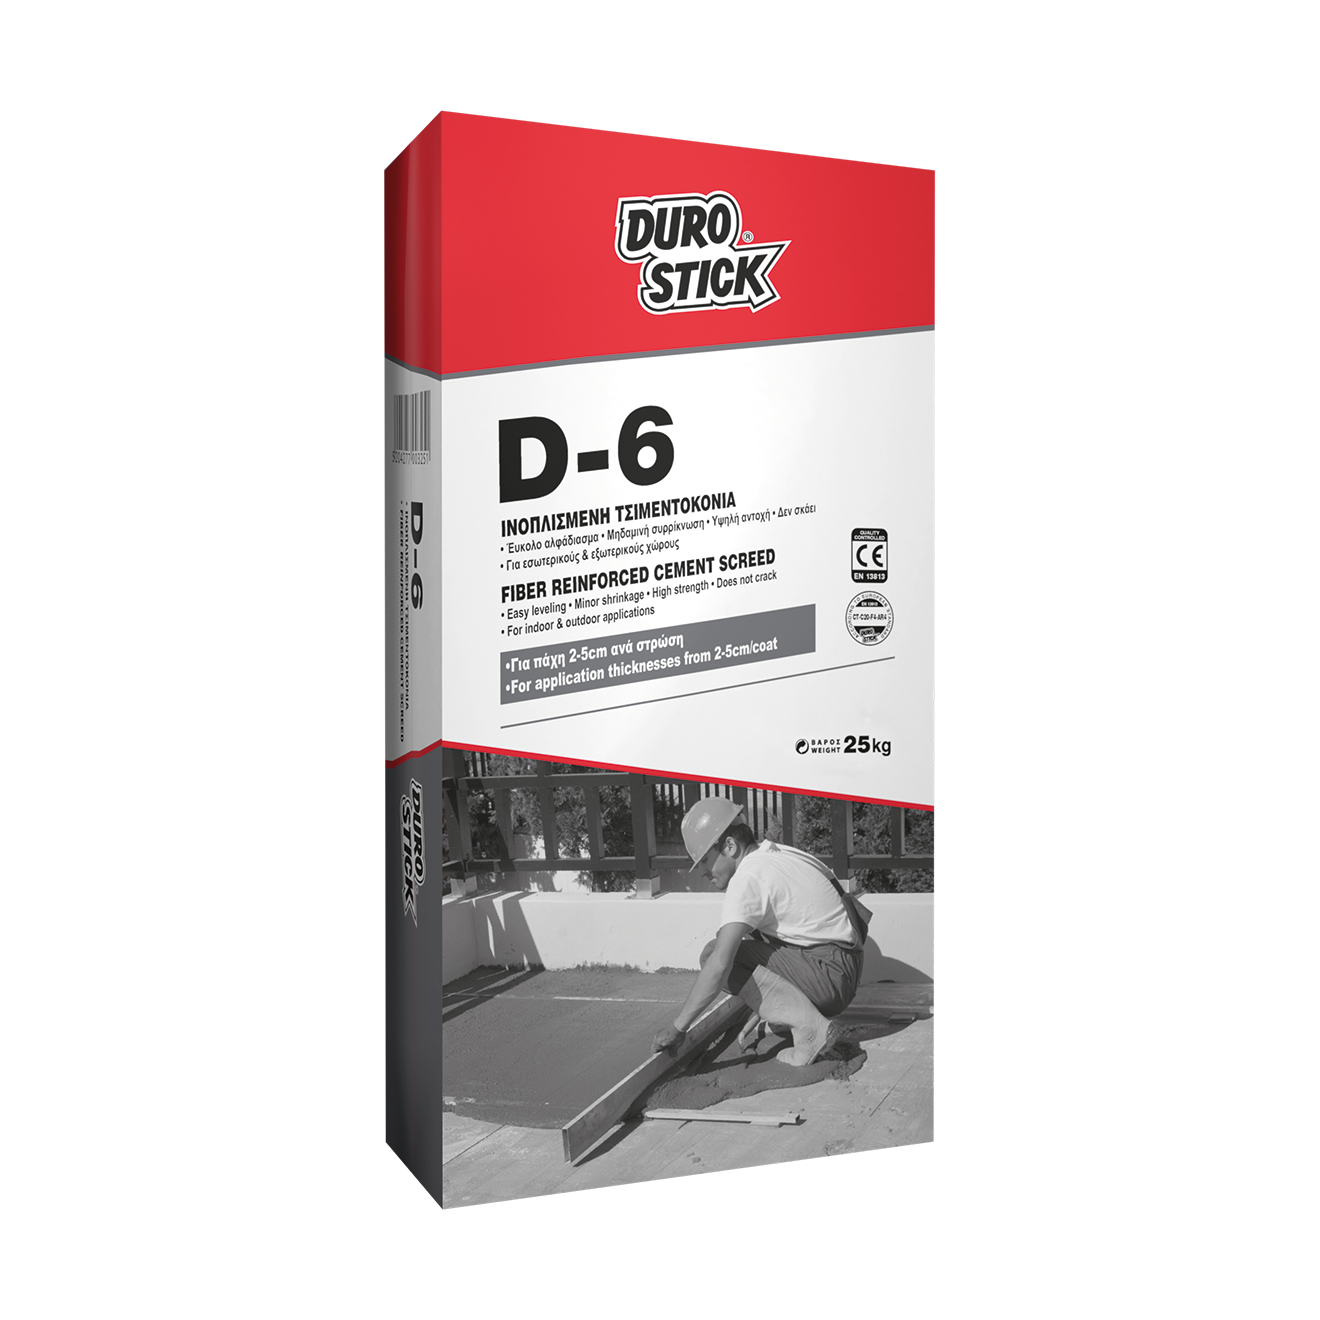
Remove all friable spots using mechanical means until a stable substrate is reached. If it is a wall, repair it locally with the polymeric repair cementitious mortar DUROFIX, with the repair, fiber-reinforced, resin-modified, thixotropic mortar DS-244 POWER MORTAR RESIN, or with the fast-setting repair, fiber-reinforced, thixotropic mortar DS-245 POWER MORTAR RAPID. If it is a floor, apply the fiber-reinforced cement screed D-6. Afterward, remove the dust and dampen with a solution of water and D-20 acrylic emulsion at a 2:1 ratio. Finally, position the new tiles, bonding them with the flexible, high-strength tile adhesive GOLD.
Complete the application by grouting with the appropriate type of cementitious grout, depending on the joint width. For added flexibility, water repellency, and enhanced mechanical strength on exterior surfaces, add ACRYLIC EMULSION to the grout at a 1:2 ratio with water, or grout with the VITREOUS TILE GROUT DUROGROUT. To ensure that cracking does not reappear, create an expansion joint every 16-20m², as well as perimetrically at the junction of the tiles and vertical surface, as previously described (SOLUTION No4).